
CentOS 7にZabbix 2.4をインストールして初回ログインするまでの手順をまとめました。
タップできる目次
環境
- Cent OS 7 64bit版
- 最小構成でOSインストール済み
データベース
パッケージインストール
# yum install mariadb-server
/etc/my.cnf.d/server.cnf を編集
Zabbixは更新系のクエリが多いので、書き込みバッファを利用してI/O負荷を軽減できるInnoDBを利用します。この設定はMySQLを初回起動する前に行います。
# this is read by the standalone daemon and embedded servers
[server]
character-set-server=utf8
skip-character-set-client-handshake
innodb_file_per_table
MySQL起動
systemctlコマンドでmariadbを起動します。
# systemctl start mariadb
続いてsystemctlコマンドでOS起動時にmariadbが起動するように設定します。
# systemctl enable mariadb
Created symlink from /etc/systemd/system/multi-user.target.wants/mariadb.service to /usr/lib/systemd/system/mariadb.service.
データベース作成
Zabbixで使用するデータベースは以下のように設定しています。パスワードは適宜変更してください。
| データベース名 | zabbix | zabbix_server.confのデフォルト値 |
| テーブル名 | zabbix | |
| ユーザー名 | zabbix | zabbix_confのデフォルト値 |
| パスワード | zabbix | |
| 文字コード | UTF8 |
# mysql -u root
Welcome to the MariaDB monitor.  Commands end with ; or g.
Your MariaDB connection id is 2
Server version: 5.5.44-MariaDB MariaDB Server

Copyright (c) 2000, 2015, Oracle, MariaDB Corporation Ab and others.

Type 'help;' or 'h' for help. Type 'c' to clear the current input statement.

MariaDB [(none)]> CREATE DATABASE zabbix CHARACTER SET UTF8;
Query OK, 1 row affected (0.00 sec)

MariaDB [(none)]> GRANT ALL PRIVILEGES on zabbix.* to zabbix@localhost IDENTIFIED BY 'zabbix';
Query OK, 0 rows affected (0.00 sec)

MariaDB [(none)]> FLUSH PRIVILEGES;
Query OK, 0 rows affected (0.00 sec)

MariaDB [(none)]> exit
Bye
#
MySQLセキュリティ
mysql_secure_installationコマンドでMySQLのセキュリティ設定を行います。
# mysql_secure_installation
/bin/mysql_secure_installation: 行 379: find_mysql_client: コマンドが見つかりません

NOTE: RUNNING ALL PARTS OF THIS SCRIPT IS RECOMMENDED FOR ALL MariaDB
      SERVERS IN PRODUCTION USE!  PLEASE READ EACH STEP CAREFULLY!

In order to log into MariaDB to secure it, we'll need the current
password for the root user.  If you've just installed MariaDB, and
you haven't set the root password yet, the password will be blank,
so you should just press enter here.

Enter current password for root (enter for none):
OK, successfully used password, moving on...

Setting the root password ensures that nobody can log into the MariaDB
root user without the proper authorisation.

Set root password? [Y/n] y
New password:
Re-enter new password:
Password updated successfully!
Reloading privilege tables..
 ... Success!


By default, a MariaDB installation has an anonymous user, allowing anyone
to log into MariaDB without having to have a user account created for
them.  This is intended only for testing, and to make the installation
go a bit smoother.  You should remove them before moving into a
production environment.

Remove anonymous users? [Y/n] y
 ... Success!

Normally, root should only be allowed to connect from 'localhost'.  This
ensures that someone cannot guess at the root password from the network.

Disallow root login remotely? [Y/n] y
 ... Success!

By default, MariaDB comes with a database named 'test' that anyone can
access.  This is also intended only for testing, and should be removed
before moving into a production environment.

Remove test database and access to it? [Y/n] y
 - Dropping test database...
 ... Success!
 - Removing privileges on test database...
 ... Success!

Reloading the privilege tables will ensure that all changes made so far
will take effect immediately.

Reload privilege tables now? [Y/n] y
 ... Success!

Cleaning up...

All done!  If you've completed all of the above steps, your MariaDB
installation should now be secure.

Thanks for using MariaDB!
#
Zabbixインストール
リポジトリ追加
最初にZabbixのyumリポジトリを追加します。
# rpm -ivh http://repo.zabbix.com/zabbix/2.4/rhel/7/x86_64/zabbix-release-2.4-1.el7.noarch.rpm
Zabbixサーバインストール
Zabbixサーバに必要なパッケージ一式をインストールします。
# yum install zabbix zabbix-server zabbix-server-mysql
Webインタフェースインストール
ZabbixにアクセスするためのWebインタフェースをインストールします。
# yum install zabbix-web zabbix-web-mysql zabbix-web-japanese
/etc/php.iniを編集
タイムゾーンをAsia/Tokyoに設定します。
[Date]
; Defines the default timezone used by the date functions
; http://php.net/date.timezone
;date.timezone =
date.timezone = Asia/Tokyo
Zabbixサーバ設定
DBパスワードを設定します。ここでは「zabbix」と設定します。
### Option: DBPassword
#       Database password. Ignored for SQLite.
#       Comment this line if no password is used.
#
# Mandatory: no
# Default:
# DBPassword=
DBPassword=zabbix
Zabbix初期データインポート
Zabbixサーバが利用するデータベースに初期データをインポートします。インポートするデータは/usr/share/doc/zabbix-server-mysql-2.4.7/create/に格納されています。
# cd /usr/share/doc/zabbix-server-mysql-2.4.7/create/
# ls
data.sql  images.sql  schema.sql
# cat schema.sql images.sql data.sql | mysql -u zabbix -p zabbix
Enter password:
#
Zabbixサーバ起動
systemctlコマンドでZabbixサーバを起動します。
# systemctl start zabbix-server
続いてsystemctlコマンドでOS起動時にZabbixサーバが起動するように設定します。
# systemctl enable zabbix-server
Created symlink from /etc/systemd/system/multi-user.target.wants/zabbix-server.service to /usr/lib/systemd/system/zabbix-server.service.
#
Apache起動
systemctlコマンドでApacheを起動します。
# systemctl start httpd
続いてsystemctlコマンドでOS起動時にApacheが起動するように設定します。
# systemctl enable httpd
Created symlink from /etc/systemd/system/multi-user.target.wants/httpd.service to /usr/lib/systemd/system/httpd.service.
#
Zabbixエージェントインストール
zabbixサーバ自体も監視したいので、エージェントをインストールします。
# yum install zabbix-agent
Zabbixエージェント起動
systemctlコマンドでZabbixエージェントを起動します。
# systemctl start zabbix-agent
続いてsystemctlコマンドでOS起動時にZabbixエージェントが起動するように設定します。
# systemctl enable zabbix-agent
Created symlink from /etc/systemd/system/multi-user.target.wants/zabbix-agent.service to /usr/lib/systemd/system/zabbix-agent.service.
#
Webインタフェース接続
firewall停止
Zabbixが正しく動く事を確認したいので、firewallは停止させておきます。
# systemctl stop firewalld
# systemctl disable firewalld
Removed symlink /etc/systemd/system/dbus-org.fedoraproject.FirewallD1.service.
Removed symlink /etc/systemd/system/basic.target.wants/firewalld.service.
#
ブラウザで接続
接続先のURLは「http://<ZabbixサーバのIP or ホスト名>/zabbix/」です。次のような画面が表示される事を確認します。無事表示されたら[Next >>]をクリックして進みます。

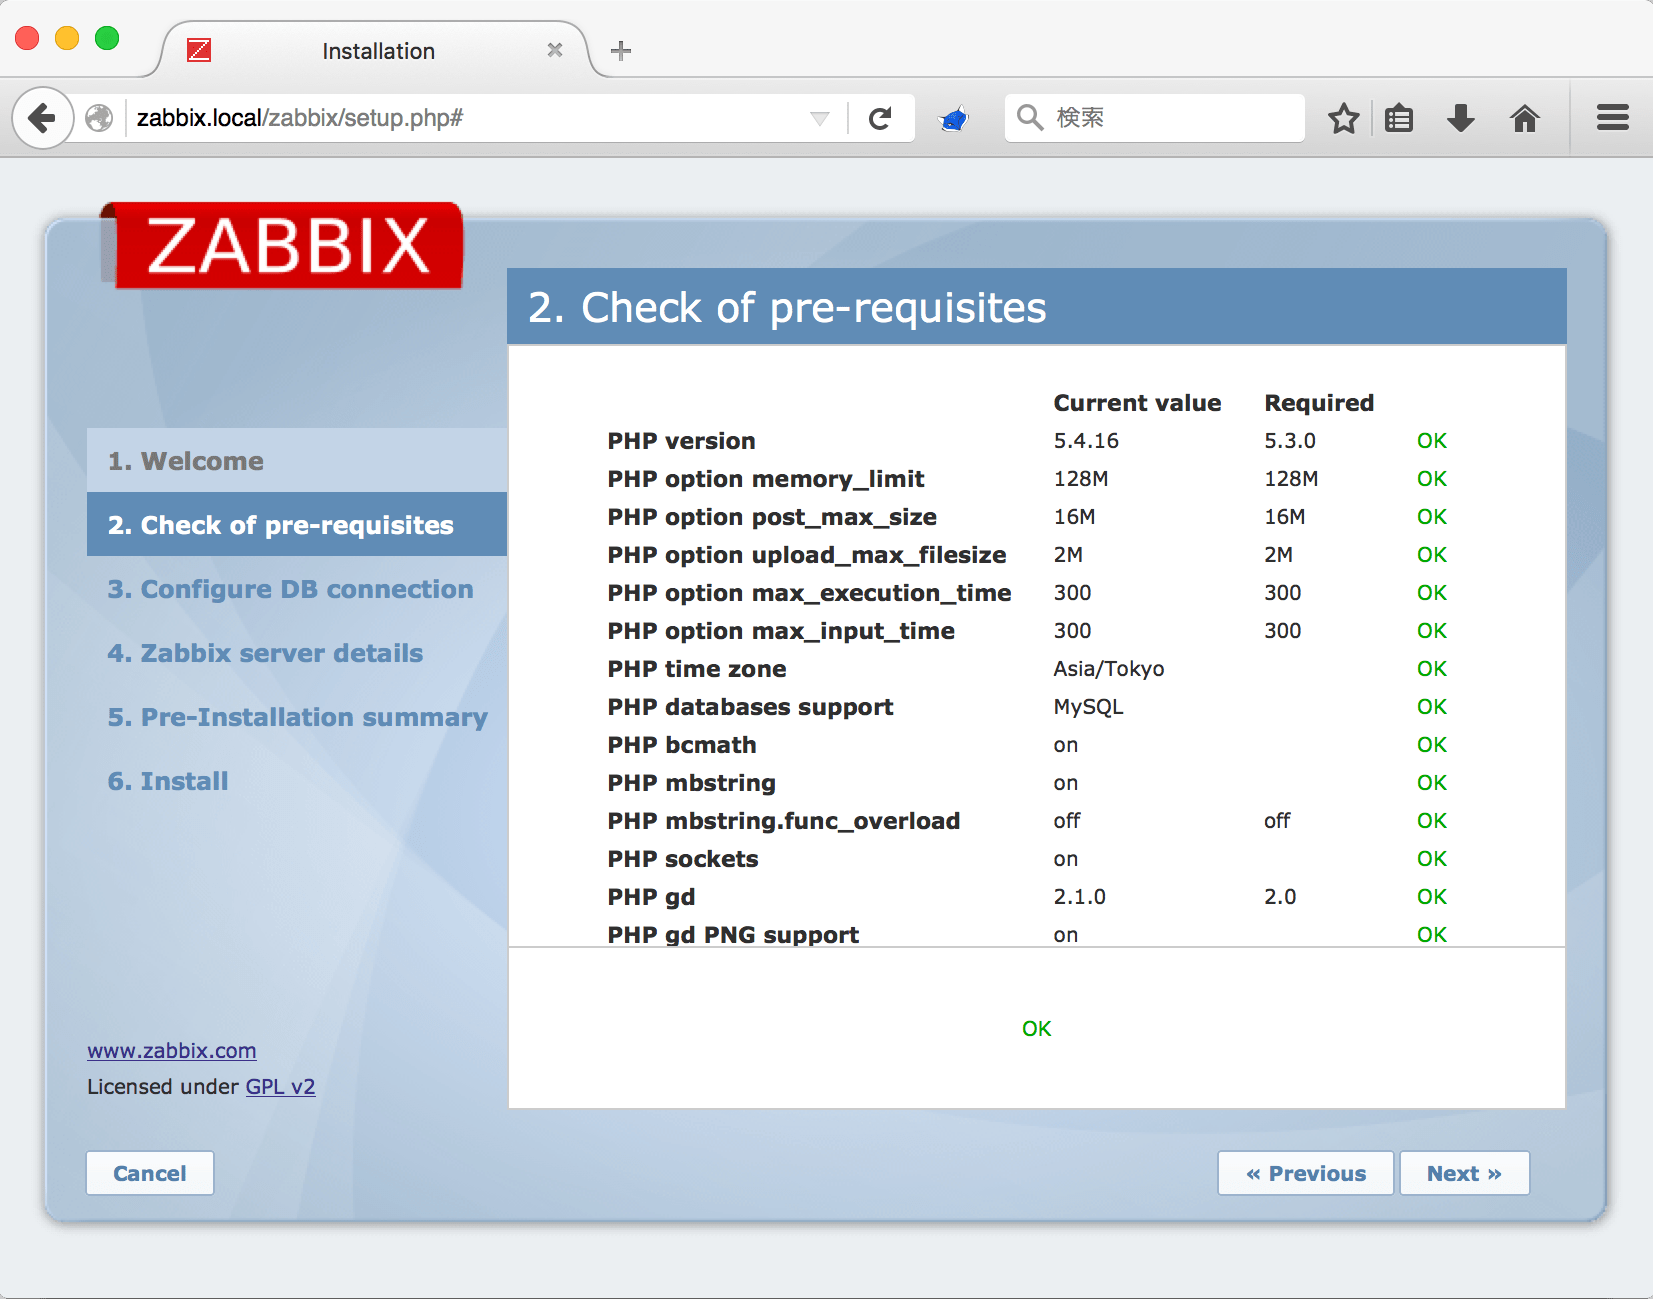
すべてステータスが「OK」である事を確認します。問題なければ[Next >>]をクリックして進みます。
次にDBサーバへの接続設定を行います。パラメータを入力したら[Test connection]をクリックしてDBサーバへの接続テストを行ってください。「OK」と表示されたら[Next >>]をクリックして進みます。

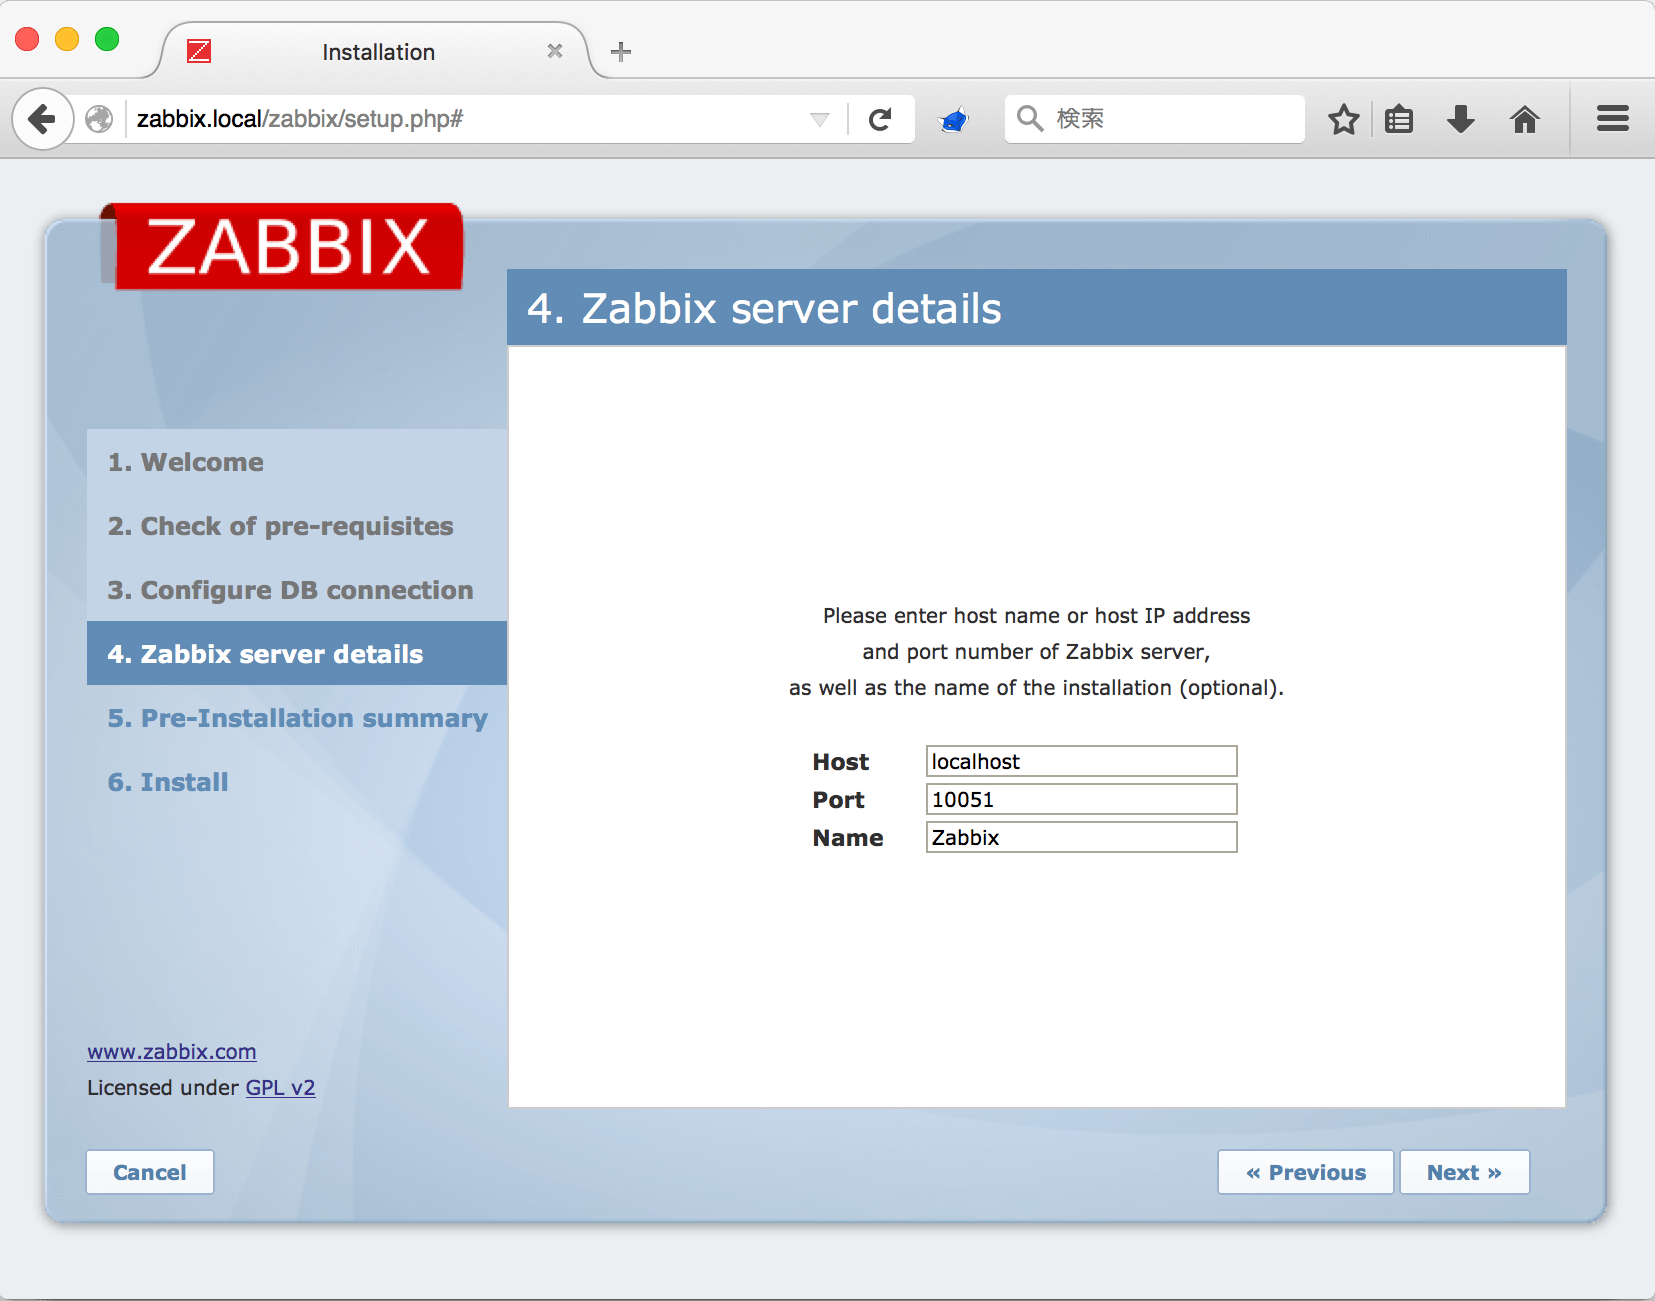
Zabbixサーバの設定を行います。HostとPortはデフォルトで構いません。「Name」はオプションです。ここでは「Zabbix」としました。
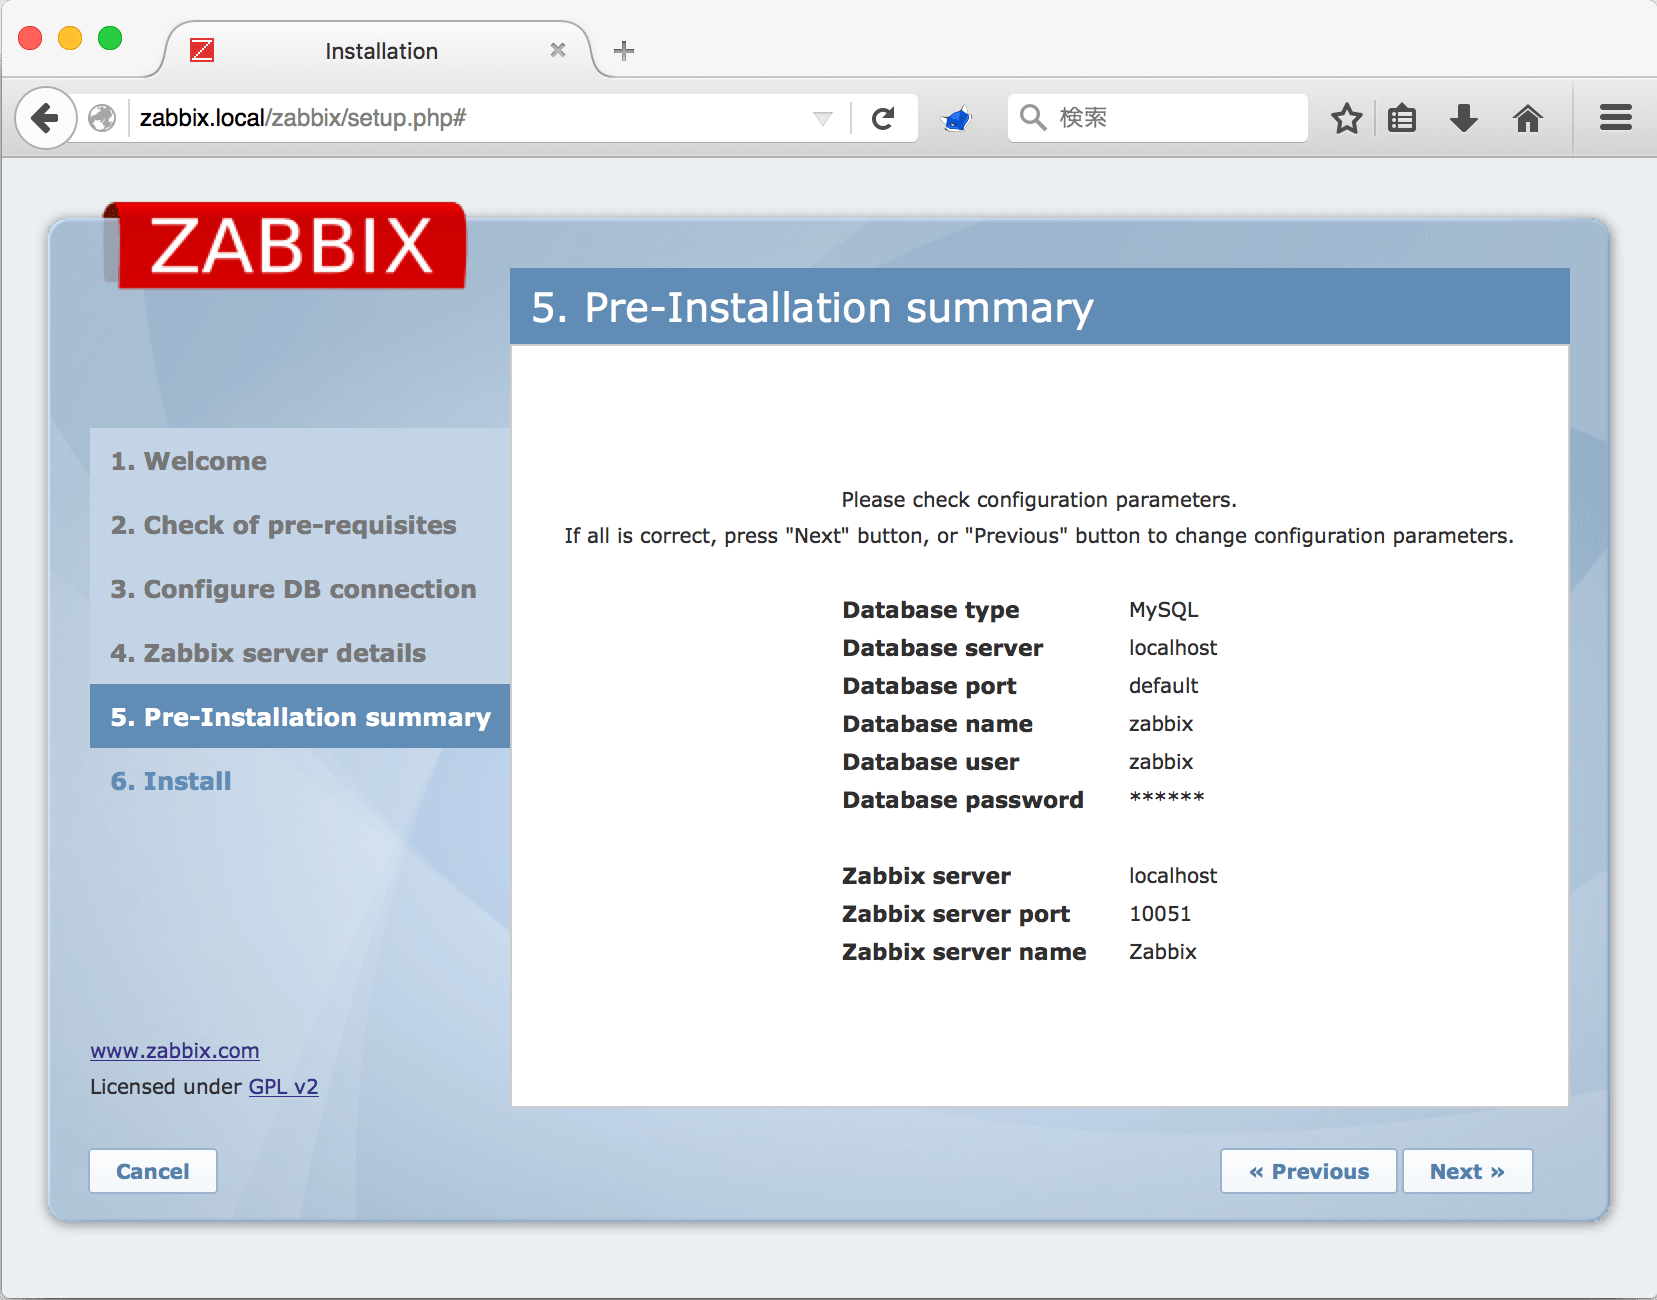
設定値が表示されるので、正しい事を確認して下さい。問題なければ[Next >>]をクリックしてインストールを行います。
問題なくインストールが完了すると次のような画面が表示されるので[Finish]をクリックして終了します。

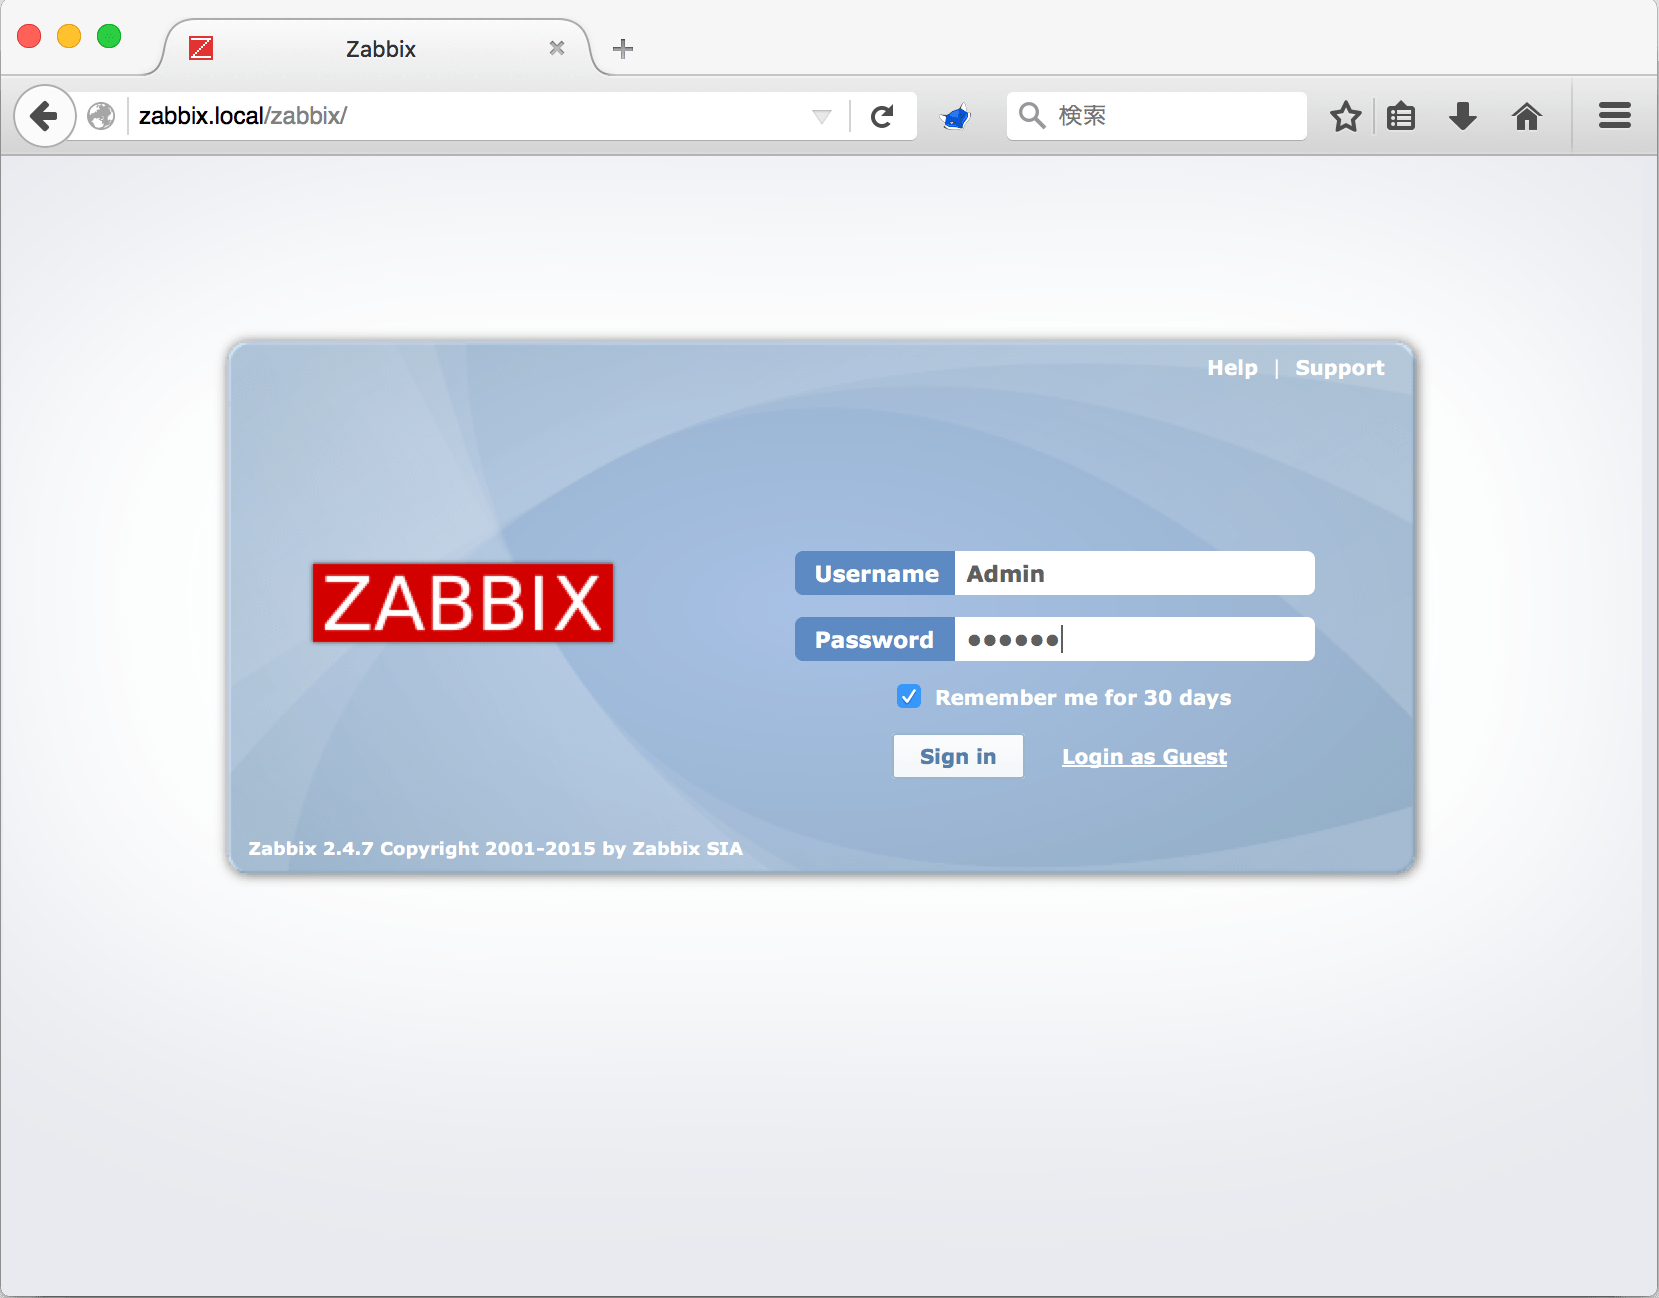
次にログイン画面が表示されるので、ログインします。デフォルトのユーザー名とパスワードは次の通りです。
- Username Admin
- Password zabbix
おっと!「Zabbix server is not running: the information displayed may not be current.」と表示されています。
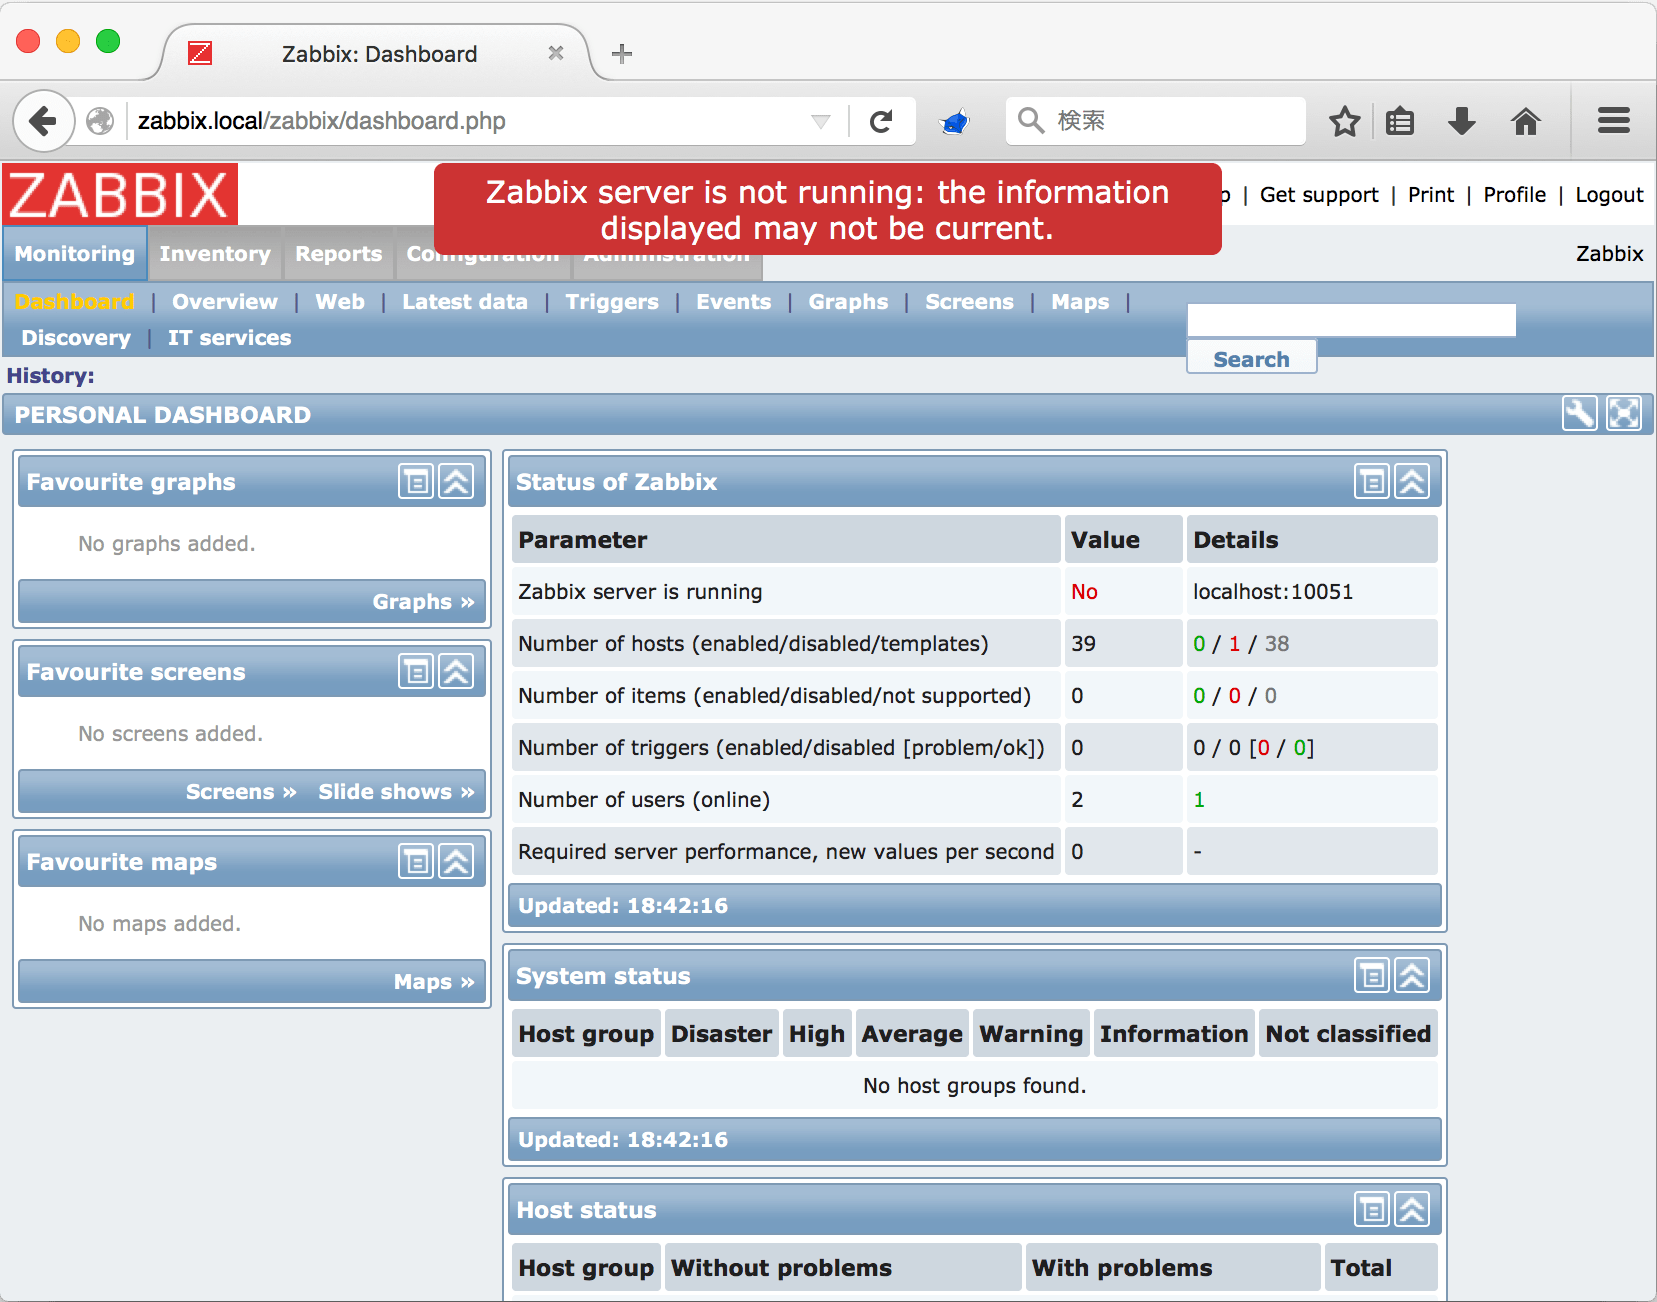
これはSELinuxのせいです。SELinuxを無効化してもいいのですが、ここではzabbix関連のみonにして実行できるようにします。コマンドラインへ戻り、次のようにします。
# getsebool -a | grep zabbix
httpd_can_connect_zabbix --> off
zabbix_can_network --> off
#
# setsebool -P httpd_can_connect_zabbix on
# setsebool -P zabbix_can_network on
#
# getsebool -a | grep zabbix
httpd_can_connect_zabbix --> on
zabbix_can_network --> on
#
ブラウザで再読込して、先ほどのエラーメッセージが消えた事を確認してください。
以上でZabbix 2.4の導入は完了です。