
前提条件
- SELinuxはdisabledに変更済み
- firewalldは停止している
- httpdはインストール・自動起動設定済み
- MySQLサーバはインストール・自動起動設定済み
Zabbix5インストール
Zabbixダウンロードサイトへアクセスし、自分の環境に合わせて以下の項目をクリックして選択します。
- ZABBIX VERSION
- OS DISTRIBUTION
- OS VERSION
- DATABASE
- WE SERVER
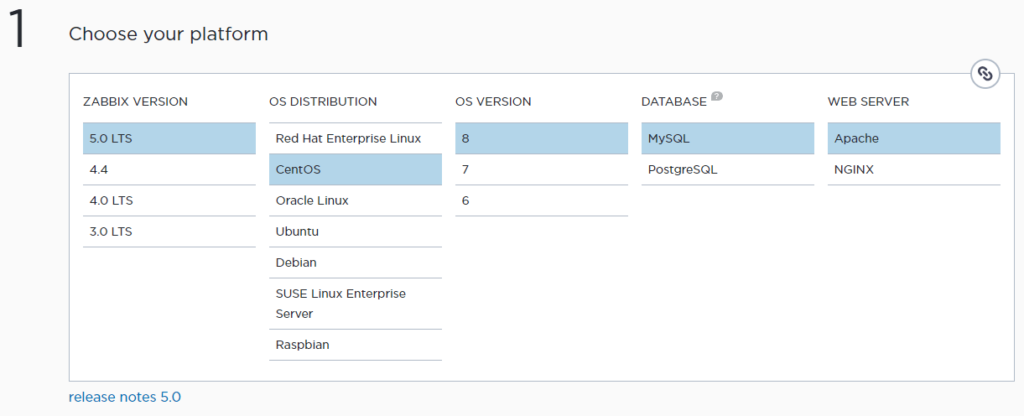
適宜選択すると以下のようにインストールするためのコマンドが生成されるのでコピーしてサーバ上でコマンドを実行します。
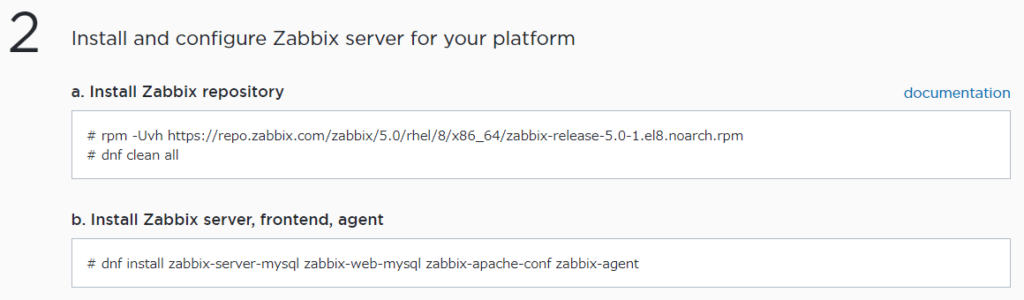
表示されたとおり以下のコマンドをroot権限で実行しました。
rpm -Uvh https://repo.zabbix.com/zabbix/5.0/rhel/8/x86_64/zabbix-release-5.0-1.el8.noarch.rpm
dnf clean all
dnf install zabbix-server-mysql zabbix-web-mysql zabbix-apache-conf zabbix-agent
今回はMySQLを選択しているのでMySQLサーバをインストールしrootパスワードも設定しておく必要があるので注意してください。
そして以下の指示通りデータベースを作成します。
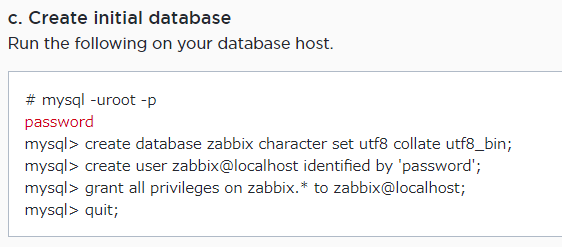
[root@centos8 ~]# mysql -uroot -p
Enter password:
Welcome to the MySQL monitor.  Commands end with ; or \g.
Your MySQL connection id is 10
Server version: 8.0.17 Source distribution

Copyright (c) 2000, 2019, Oracle and/or its affiliates. All rights reserved.

Oracle is a registered trademark of Oracle Corporation and/or its
affiliates. Other names may be trademarks of their respective
owners.

Type 'help;' or '\h' for help. Type '\c' to clear the current input statement.

mysql> create database zabbix character set utf8 collate utf8_bin;
Query OK, 1 row affected, 2 warnings (0.00 sec)

mysql> create user zabbix@localhost identified by 'password';
Query OK, 0 rows affected (0.01 sec)

mysql> grant all privileges on zabbix.* to zabbix@localhost;
Query OK, 0 rows affected (0.00 sec)

mysql> quit;
Bye
[root@centos8 ~]#
引き続きテーブルの作成をおこないます。

[root@centos8 ~]# zcat /usr/share/doc/zabbix-server-mysql*/create.sql.gz | mysql -uzabbix -p zabbix
Enter password:
[root@centos8 ~]#
そしてDBパスワードをZabbixの設定ファイルに記述します。ファイルは「/etc/zabbix/zabbix_server.conf」です。
### Option: DBPassword
#       Database password.
#       Comment this line if no password is used.
#
# Mandatory: no
# Default:
# DBPassword=
DBPassword=password
次にタイムゾーンを設定します。ファイルは「/etc/php-fpm.d/zabbix.conf」です。
最終行に以下の設定がコメントアウトで記述されています。
; php_value[date.timezone] = Europe/Riga
これを以下のように変更します。
php_value[date.timezone] = Asia/Tokyo
最後にプロセスを再起度して自動起動を有効化します。
systemctl restart zabbix-server zabbix-agent httpd php-fpm
systemctl enable zabbix-server zabbix-agent httpd php-f
エラーなく再起動できたらWEBブラウザで接続します。
接続先:http://サーバIP/zabbix/
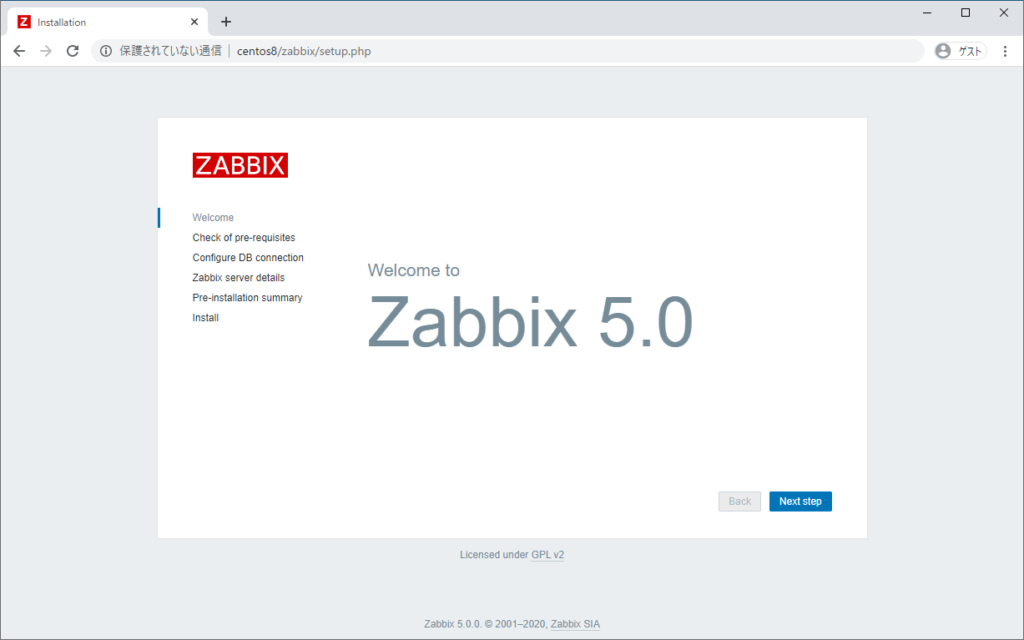
この後は初期設定ですので、適宜設定をおこなってください。
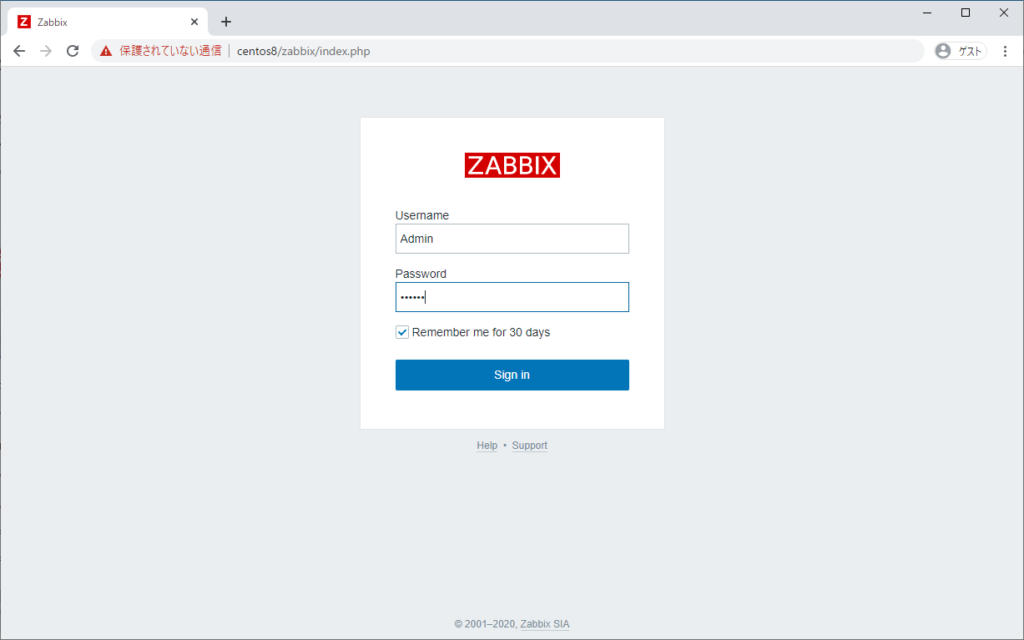
初期設定が終わるとログイン画面が表示されるのでユーザー名「Admin」パスワード「zabbix」でログインできるはずです。
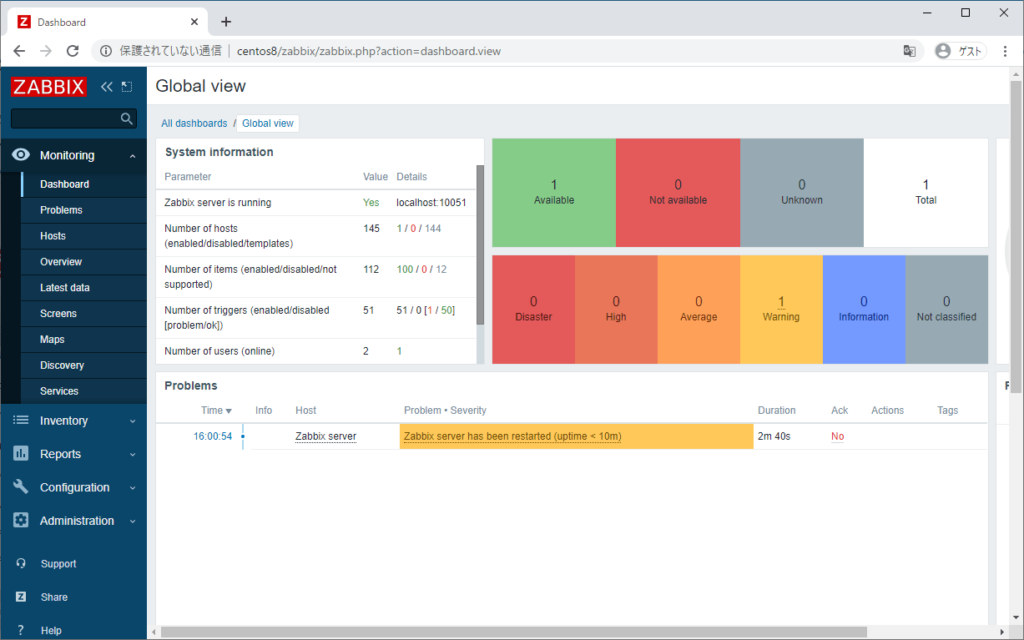
ログインすると無事Zabbixのダッシュボードが表示されます。
この記事は役に立ちましたか?
もし参考になりましたら、下記のボタンで教えてください。
コメント