Warning: Undefined variable $post in /home/d94d2eh6/infrapod.net/public_html/wp-content/themes/sango-theme-poripu/functions.php on line 12

Warning: Attempt to read property "ID" on null in /home/d94d2eh6/infrapod.net/public_html/wp-content/themes/sango-theme-poripu/functions.php on line 12

Warning: Undefined array key 3 in /home/d94d2eh6/infrapod.net/public_html/wp-content/themes/sango-theme-poripu/library/functions/prp_content.php on line 18

Warning: Undefined array key 4 in /home/d94d2eh6/infrapod.net/public_html/wp-content/themes/sango-theme-poripu/library/functions/prp_content.php on line 21

Warning: Undefined array key 3 in /home/d94d2eh6/infrapod.net/public_html/wp-content/themes/sango-theme-poripu/library/functions/prp_content.php on line 30

Warning: Undefined array key 4 in /home/d94d2eh6/infrapod.net/public_html/wp-content/themes/sango-theme-poripu/library/functions/prp_content.php on line 33
本サイトはプロモーションを含みます。

vSphere(ESXi)上のLinuxでUSBシリアルを使えるようにする


Warning: Undefined array key 3 in /home/d94d2eh6/infrapod.net/public_html/wp-content/themes/sango-theme-poripu/library/functions/prp_content.php on line 18

Warning: Undefined array key 4 in /home/d94d2eh6/infrapod.net/public_html/wp-content/themes/sango-theme-poripu/library/functions/prp_content.php on line 21

Warning: Undefined array key 3 in /home/d94d2eh6/infrapod.net/public_html/wp-content/themes/sango-theme-poripu/library/functions/prp_content.php on line 30

Warning: Undefined array key 4 in /home/d94d2eh6/infrapod.net/public_html/wp-content/themes/sango-theme-poripu/library/functions/prp_content.php on line 33

ちょっとした思いつきから、ESXi上にインストールしたLinuxでUSBシリアルを使えるようにしたので、その時のメモです。

ESXiのバージョンは「VMware ESXi 6.0.0 build-3073146」です。ゲストOSはUbuntu 14.04.3です。

USBコントローラーを追加する

この操作はゲストOSを起動した状態で行っています。USBシリアルはあらかじめ4本接続しています。

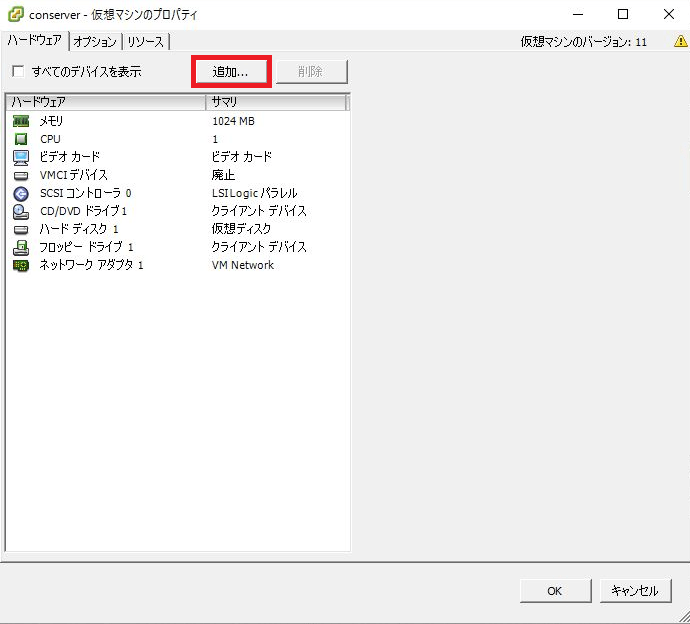
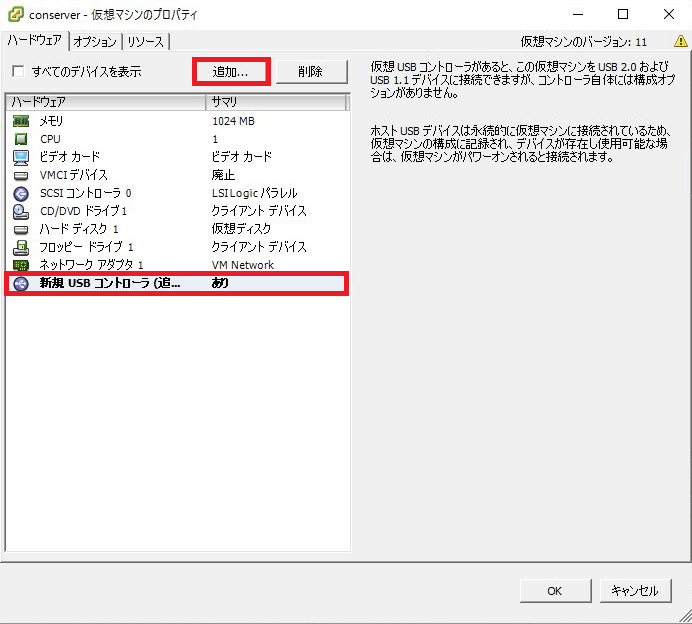
まずは仮想マシンの編集画面を開いてハードウェアの追加を行います。「追加」ボタンをポチッと押します。

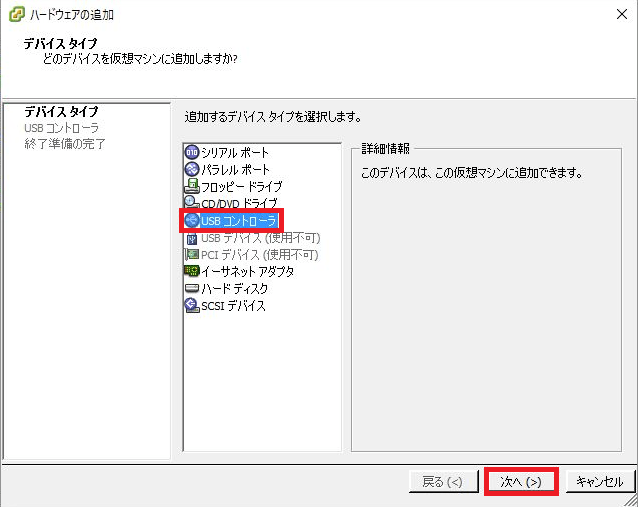
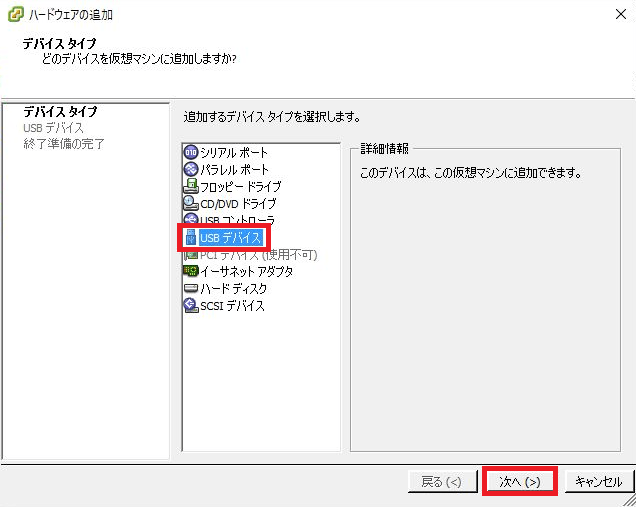
デバイスタイプは「USBコントローラ」を選択して「次へ」ボタンをポチッと押します。

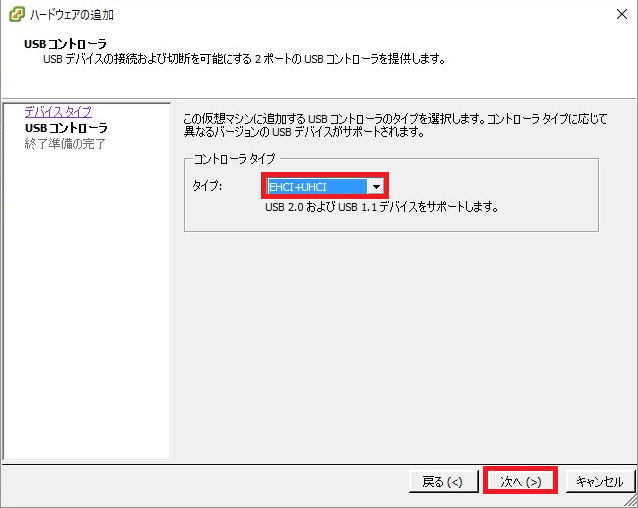
USBコントローラのタイプを選択します。わたしは「EHCI+UHCI」を選択して「次へ」をポチッと押しました。

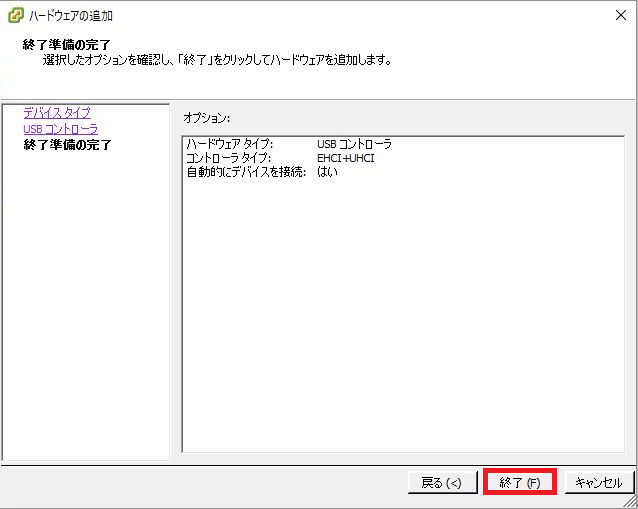
確認画面が出るので「終了」をポチッと押します。

USBコントローラが追加された事を確認したら「追加」ボタンをポチッと押します。

USBデバイスを追加する

次に「USBデバイス」を選択して「次へ」ボタンをポチッと押します。

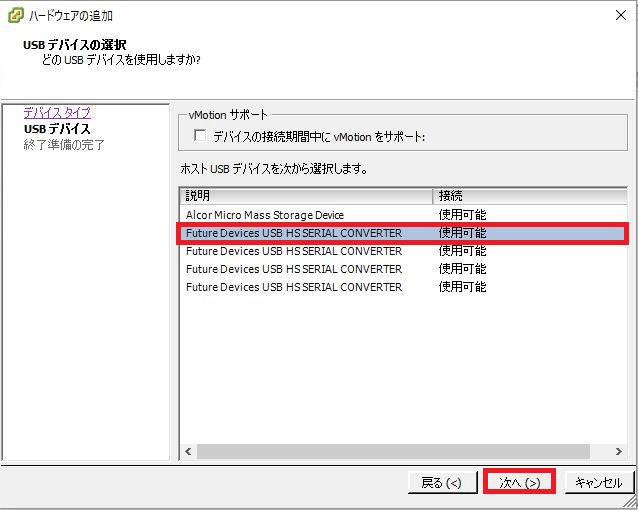
わたしはUSBシリアルを4本接続したので、次のように表示されます。このように複数ある場合は1つずつ選択して「次へ」ボタンをポチッと押します。

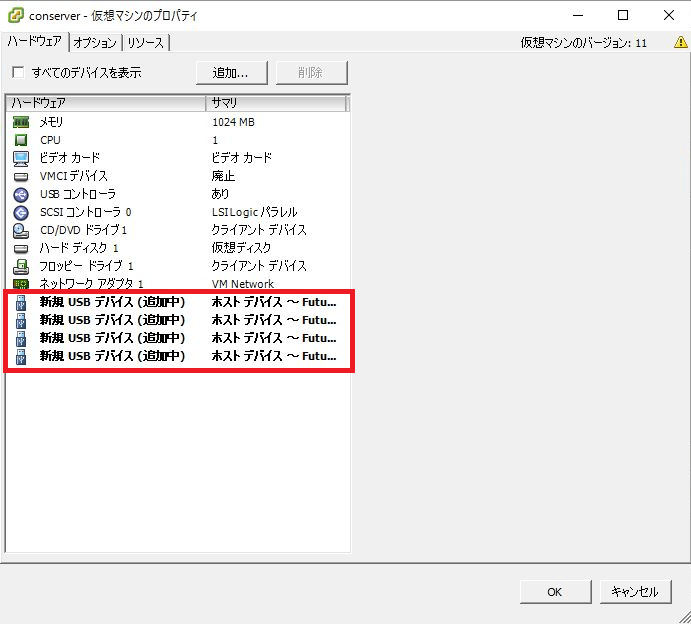
最終的にはこんな感じになります。「OK」ボタンをポチッと押しましょう。

まとめ

これで作業は終了です。あとは普通にLinuxへUSBシリアルを接続したときと同様に使えます。その辺は次の記事を参照してください。

参考記事:LinuxでUSBシリアルケーブルを使う


コメントを残す

メールアドレスが公開されることはありません。 が付いている欄は必須項目です

日本語が含まれない投稿は無視されますのでご注意ください。(スパム対策)


Warning: Undefined array key 3 in /home/d94d2eh6/infrapod.net/public_html/wp-content/themes/sango-theme-poripu/library/functions/prp_content.php on line 18

Warning: Undefined array key 4 in /home/d94d2eh6/infrapod.net/public_html/wp-content/themes/sango-theme-poripu/library/functions/prp_content.php on line 21

Warning: Undefined array key 3 in /home/d94d2eh6/infrapod.net/public_html/wp-content/themes/sango-theme-poripu/library/functions/prp_content.php on line 30

Warning: Undefined array key 4 in /home/d94d2eh6/infrapod.net/public_html/wp-content/themes/sango-theme-poripu/library/functions/prp_content.php on line 33